Image
Use images to add logos, diagrams, or even backdrops to your Experience. Once you create your image, there are many options to edit its appearance.
Add an Image
Add a two-dimensional image to your Augmented Experience which can serve as a backdrop or provide users with more information.
- Open the Experience you would like to edit in the BUNDLAR CMS.
- Click “Edit Experience” in the top right corner.
- Click “Add Asset,” then select “Image” from the dropdown.
- Click “Browse Library” to select a previously uploaded image, or drag & drop a file from your computer.
Images must be in PNG or JPEG format. See our Asset Guidelines for further guidance on file format and size.
Edit an Image
Change the appearance of your image.
- Open the Experience you would like to edit in the BUNDLAR CMS.
- Click “Edit Experience” in the top right corner.
- Select the image you would like to edit.
- Choose one of the options below.
Image Properties
- Asset Name: Add a descriptive name for your image.
- Options: Toggle fullscreen mode for your image.
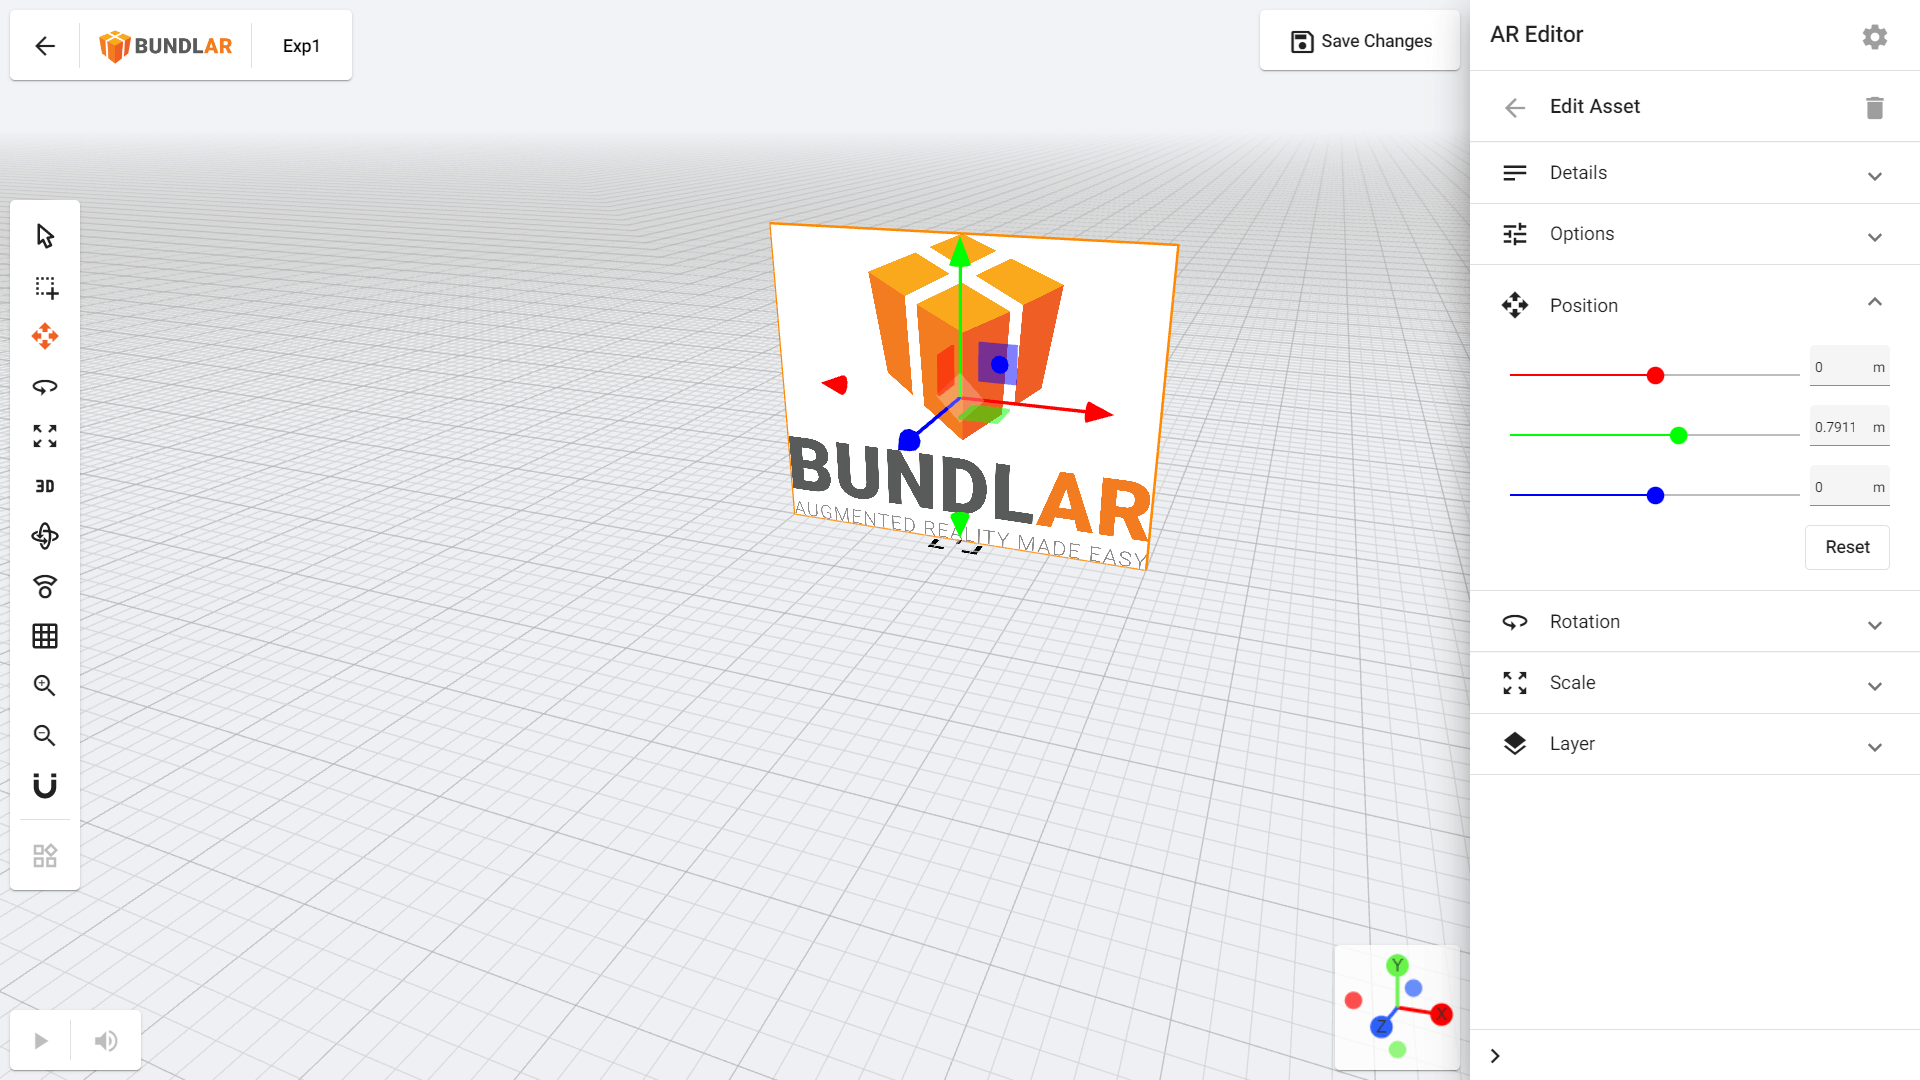
Image Position
- Position: Move your image across 3D space.
- Rotation: Rotate your image.
- Scale: Change the size of your image.
Image Layer
- Layer: Choose a previously created layer or create a new layer for the image to appear on.