Label
Labels provide users with additional information about an asset or image marker when tapped. They can also include a link for further information. Once you create your label, there are many options to edit its appearance.
Add a Label
Create a label to provide users with more information about an asset or image marker.
- Open the Experience you would like to edit in the BUNDLAR CMS.
- Click “Edit Experience” in the top right corner.
- Click “Add Asset,” then select “Label” from the dropdown.
- Choose whether you would like a detached label or a fixed label.
- For a detached label, click “Skip.”
- For a fixed label, use your cursor to select a point on an asset or image marker. Assess your label placement from multiple angles and adjust as necessary.
- When you have satisfactorily placed your label, click “Continue.”
Edit a Label
Change the appearance of your label.
- Open the Experience you would like to edit in the BUNDLAR CMS.
- Click “Edit Experience” in the top right corner.
- Select the label you would like to edit.
- Choose one of the options below.
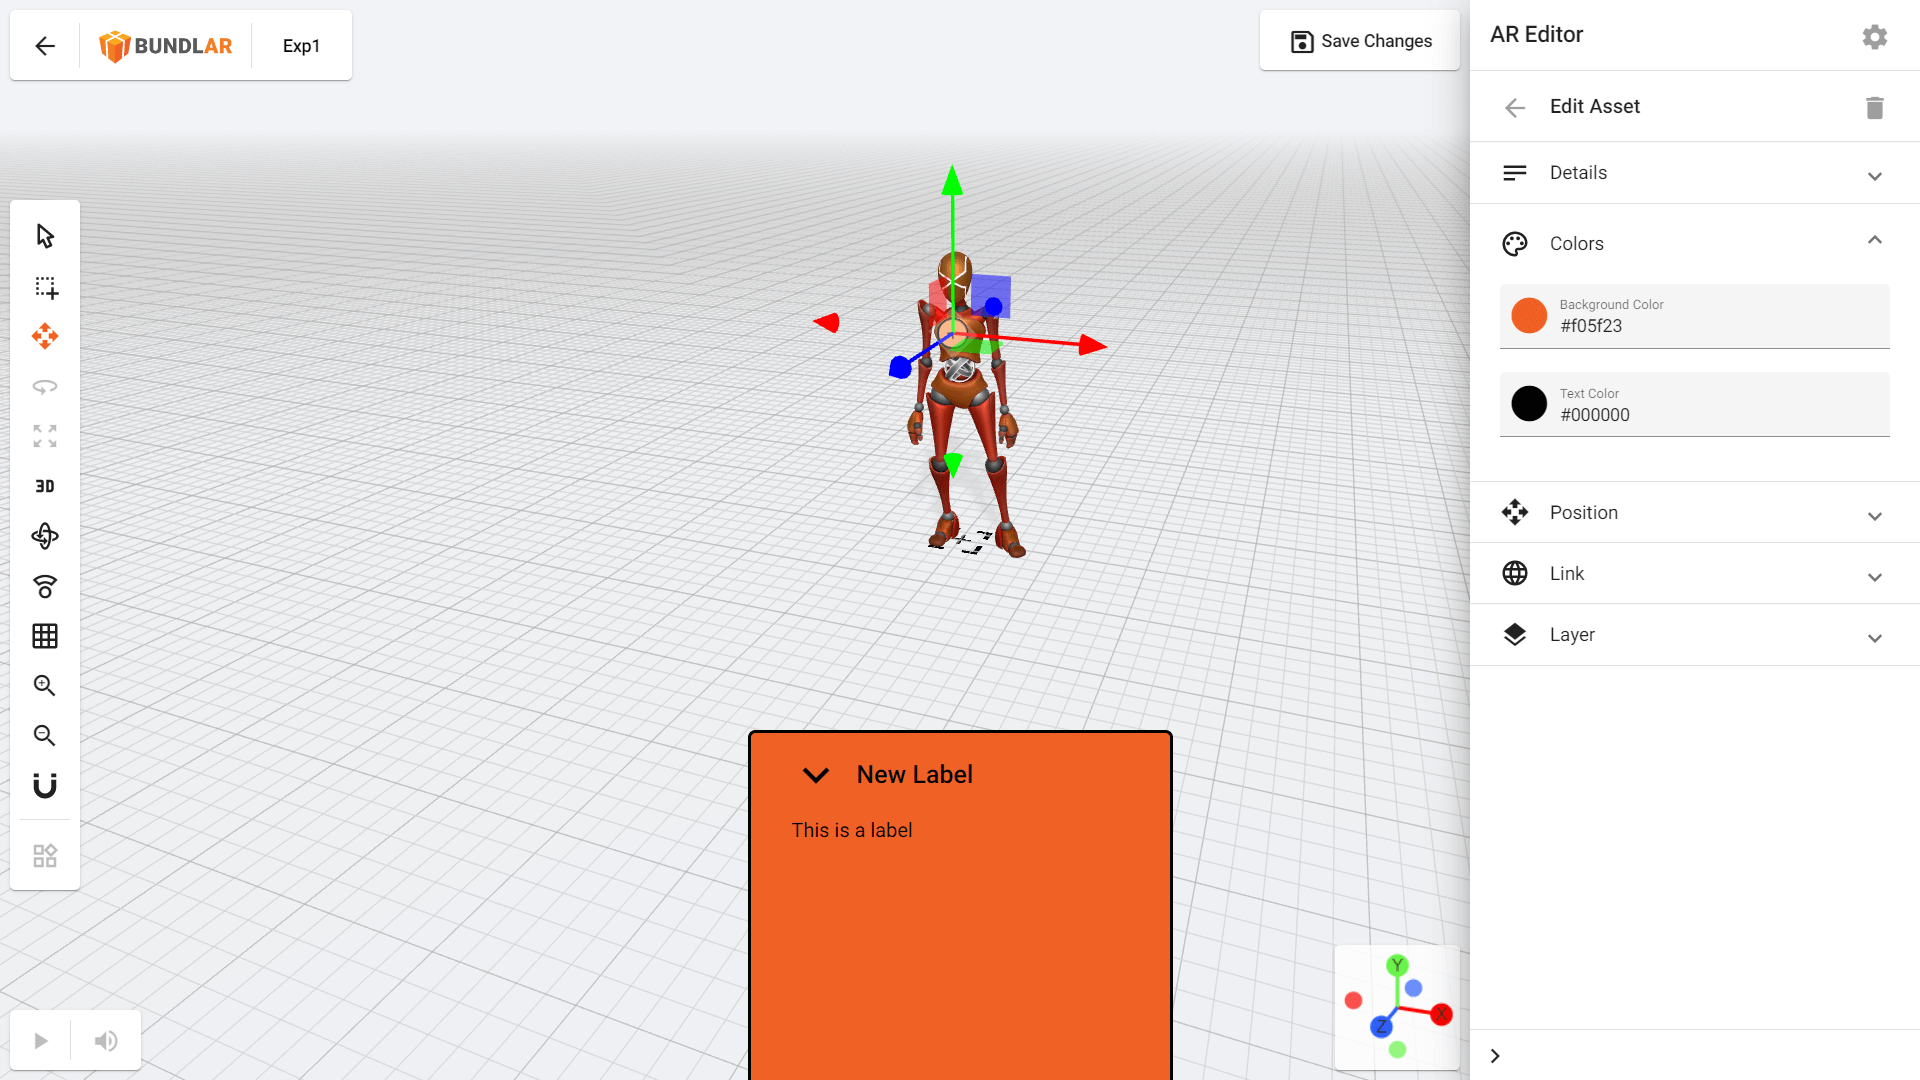
Label Properties
- Asset Name: Add a descriptive name which will appear on your label.
- Details: Add text which will appear on your label.
- Colors: Change the background and text colors of your label.
- Link: Add a button with a web link at the bottom of your label.
Label Position
- Position: Move your label across 3D space.
Label Layer
- Layer: Choose a previously created layer or create a new layer for the label to appear on.